To set up a tent quickly and easily, efficiency is key. Imagine effortlessly navigating through the process, avoiding common pitfalls that can slow you down. Picture yourself confidently assembling the frame and securing the tent in a seamless manner. The satisfaction of a well-pitched tent awaiting you at the end of this journey is worth striving for. But how can you ensure this smooth setup process every time? Let's uncover some expert tips and tricks to elevate your camping game.
Choosing the Right Location
When setting up a tent quickly, the first step is to choose a flat and level spot for pitching it. This is crucial for ensuring a stable and comfortable setup. Look for an area free of rocks, branches, and other debris that could potentially damage the tent floor or make sleeping uncomfortable. It's also essential to consider the ground composition – avoid soft soil that may shift or flood in case of rain.
Another factor to keep in mind when selecting a location is the proximity to water sources. While it's convenient to be near water for cooking, cleaning, and emergencies, setting up too close can pose a risk in case of unexpected rising water levels. Therefore, aim for a spot that isn't directly next to a water source but still reachable within a short walk.
Unpacking and Sorting Tent Components
To efficiently set up your tent quickly, begin by unpacking and sorting the tent components in an organized manner. When you first arrive at your campsite, find a flat area where you plan to pitch your tent. Lay out a ground tarp or footprint to protect the tent floor from any sharp objects or moisture.
Next, unzip the tent bag and carefully remove all the components. Start by laying out the tent body, rainfly, poles, stakes, and guy lines. Check that all the pieces are present and in good condition before proceeding. It's helpful to have a mental image of how the tent should look when fully assembled.
Sort the components by type and size to make the setup process smoother. Keep the stakes and guy lines separate for easy access when needed. Familiarize yourself with each part to avoid confusion during assembly. By organizing the tent components beforehand, you'll save time and prevent any missing pieces or confusion when setting up your tent.
Setting Up the Tent Frame
Once you have unpacked and sorted the tent components, proceed to assemble the tent frame by inserting the poles into their corresponding sleeves. Start by laying out the tent body flat on the ground, ensuring the entrance is facing the desired direction. Take the longest pole and carefully insert one end into the pole sleeve at the tent's corner. Gently flex the pole to insert the other end into the opposite corner's sleeve, creating an arch. Repeat this process with the remaining poles, connecting them to form the frame according to the tent's design.
As you insert each pole, make sure they're securely seated in their sleeves to provide a stable structure. Check that the poles are properly aligned and that the frame is symmetrical. Once all poles are in place, adjust the tension by gently pushing or pulling on the poles to straighten the frame and make any necessary adjustments. This step is crucial to ensure the tent is properly set up before moving on to securing it and adding the final touches.
Securing the Tent and Final Touches
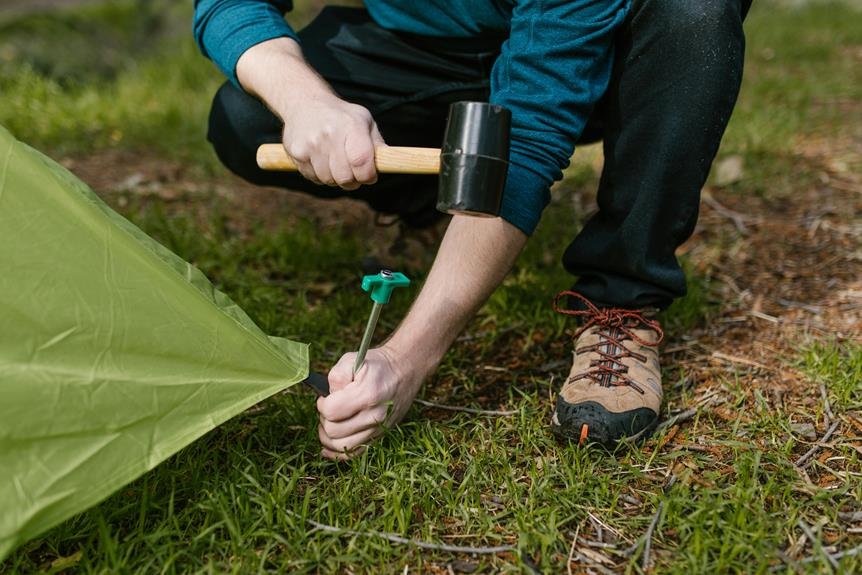
Secure the tent by staking down the corners and tightening the guylines for added stability. Start by ensuring each corner is securely staked into the ground. Use a hammer to drive the stakes at a slight angle away from the tent to prevent them from pulling out. Next, adjust the guylines by attaching them to the tent's loops and pulling them taut. This step helps to anchor the tent and prevent it from swaying in the wind.
Once the tent is secure, make some final adjustments for comfort and functionality. Check that the rainfly is properly positioned to provide adequate protection from the elements. Ensure that doors and windows are zipped closed to keep bugs out and maintain privacy. Inside the tent, organize your gear and sleeping bags for a comfortable night's rest. Lastly, consider placing a welcome mat or tarp outside the tent entrance to keep dirt from tracking inside. With these final touches, your tent is now securely set up and ready for a relaxing camping experience.


